Add Navigation Bar
![Switch to lightning mode](https://www.sms-magic.com/docs/salesforce/wp-content/uploads/sites/2/2021/08/Switch-to-lightning-mode-1024x599.png)
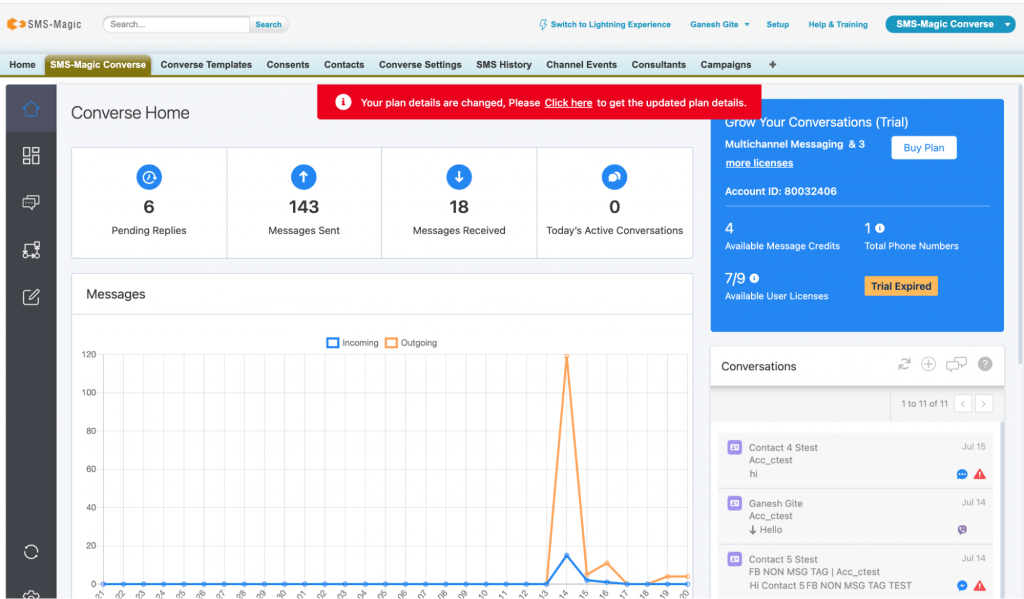
- Click on ‘Switch to Lightning’ on the home page the following page will appear:
![Lightning View](https://www.sms-magic.com/docs/salesforce/wp-content/uploads/sites/2/2021/08/Lightning-View-1024x591.png)
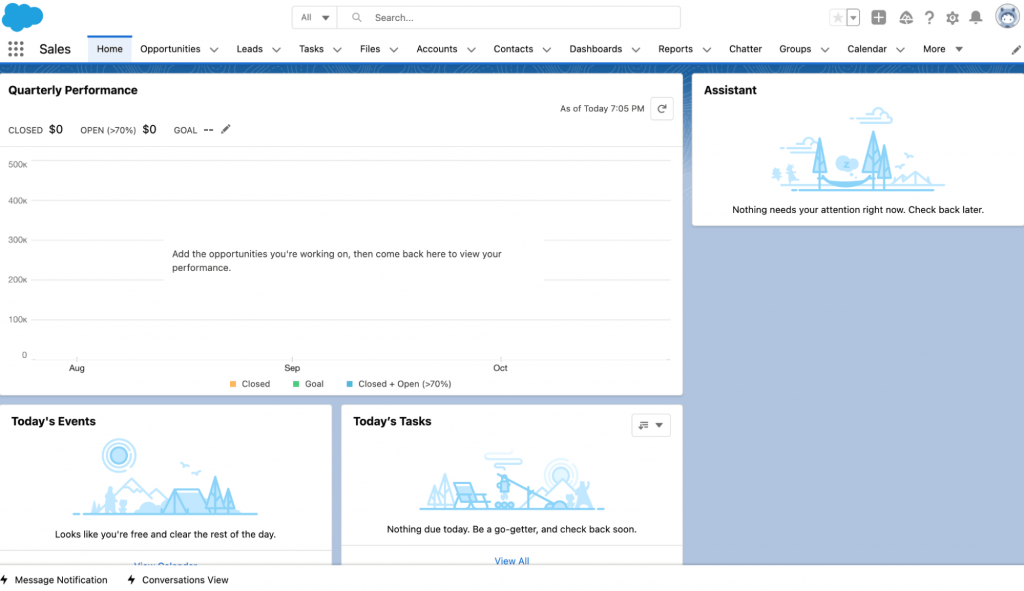
- Here, you can see the steps to add Campaign Button. You can add the object by clicking on the
personalize your navigation bar the following page will appear:
![Edit App Navigation Items](https://www.sms-magic.com/docs/salesforce/wp-content/uploads/sites/2/2021/08/Edit-App-Navigation-Items-1024x892.png)
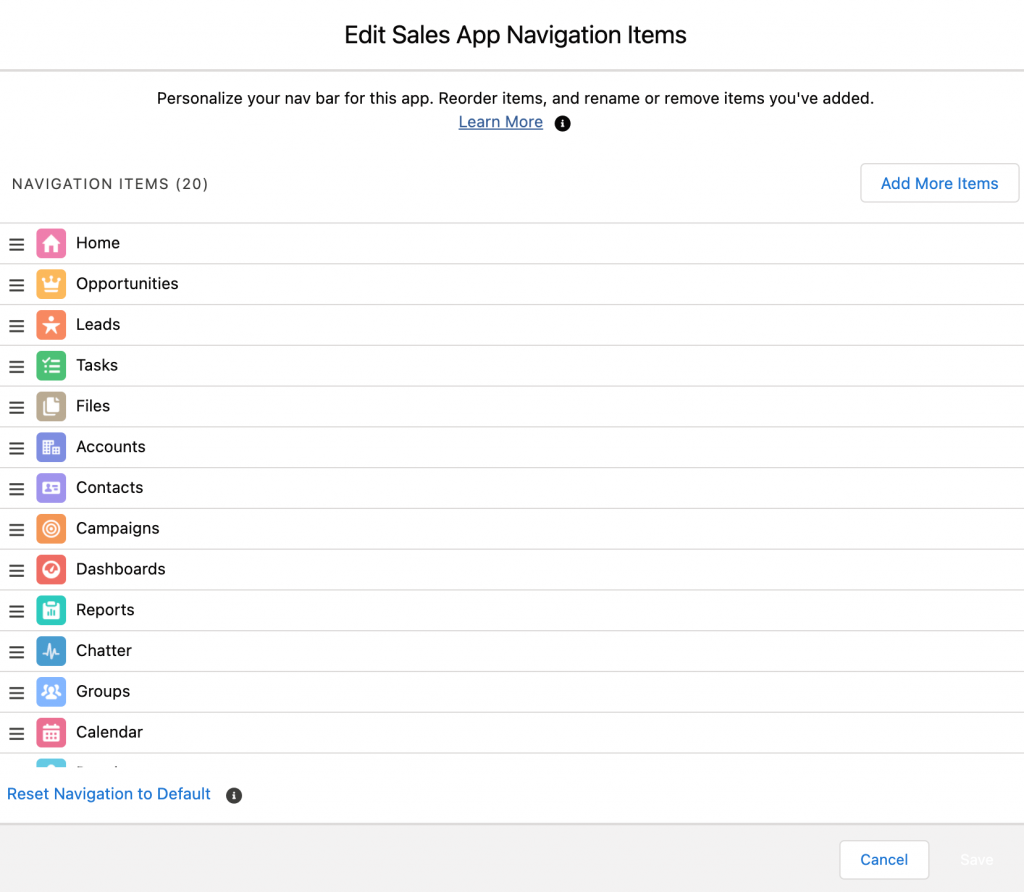
Here, we are adding a Sales App Navigation Item to the Home Page.
- Click on ‘Add More Items’ the following page will appear:
![Add More Items](https://www.sms-magic.com/docs/salesforce/wp-content/uploads/sites/2/2021/08/Add-More-Items-1024x883.png)
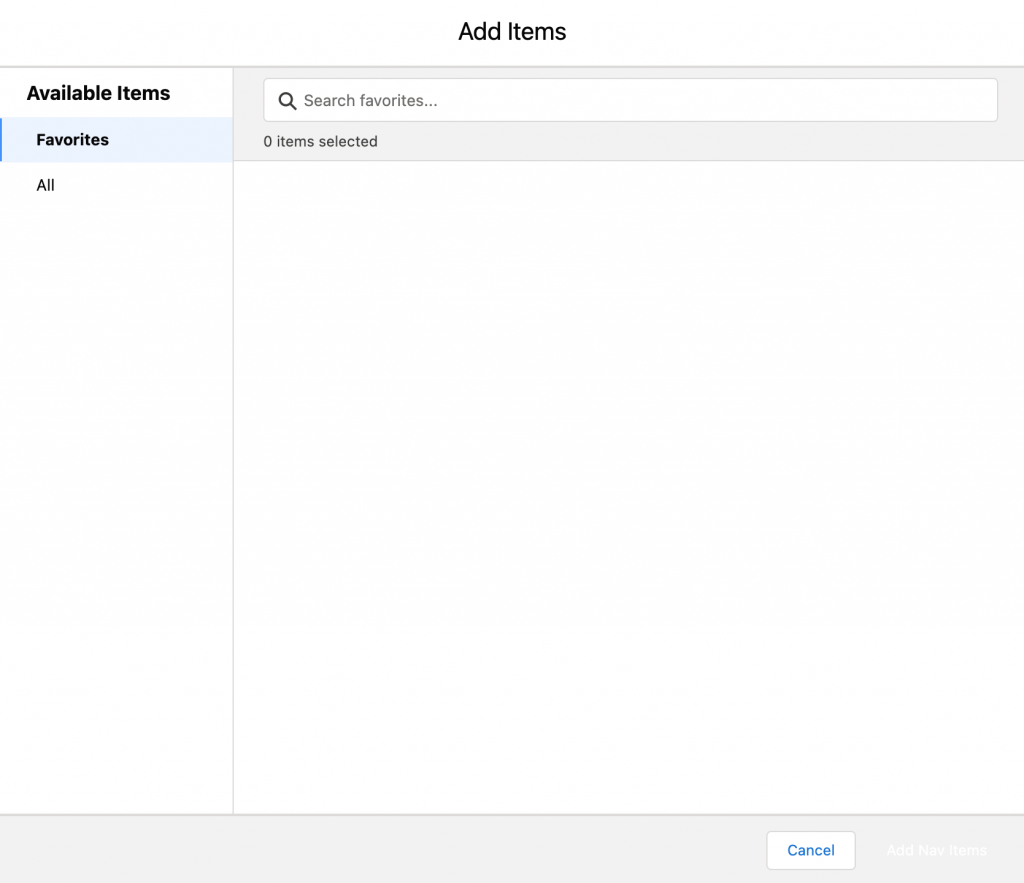
- Click on ‘All’ the following page will appear:
![All Items To Add](https://www.sms-magic.com/docs/salesforce/wp-content/uploads/sites/2/2021/08/All-Items-To-Add-1024x888.png)
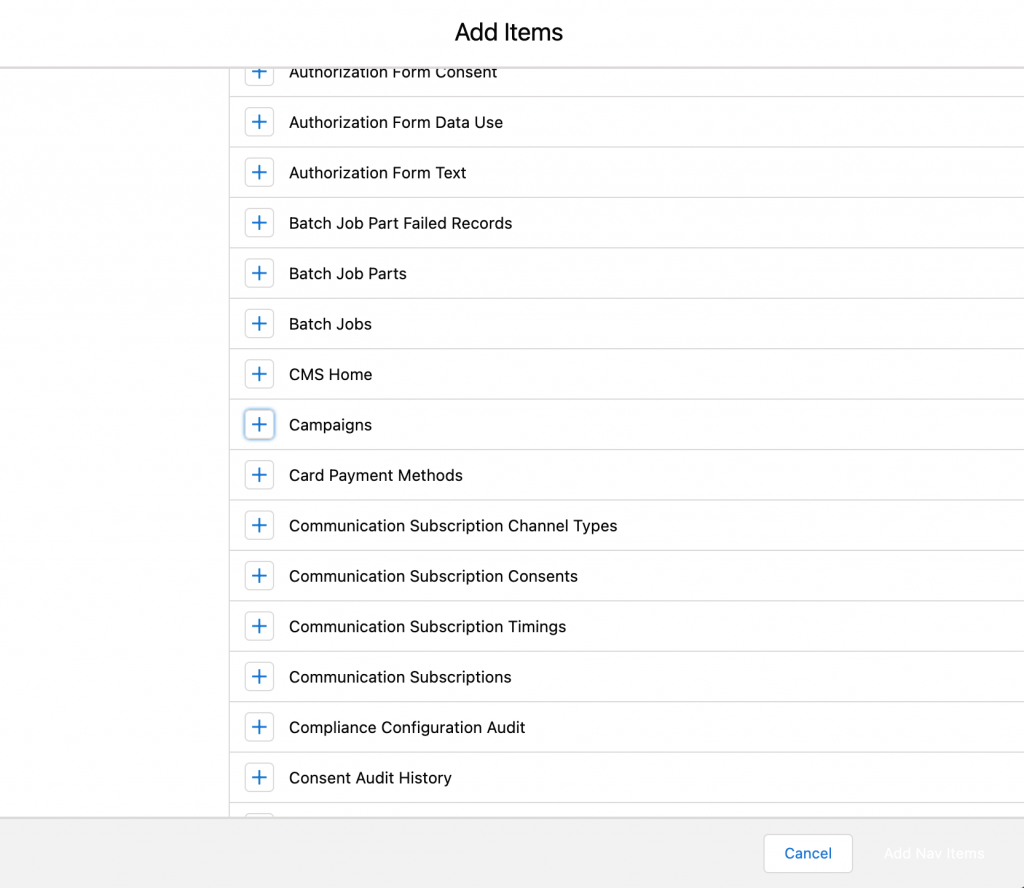
- Click on ‘Campaigns’ And you will see that the Campaign option has been auto-selected:
![Add Campaigns To Nav Items](https://www.sms-magic.com/docs/salesforce/wp-content/uploads/sites/2/2021/08/Add-Campaigns-To-Nav-Items-1024x577.png)
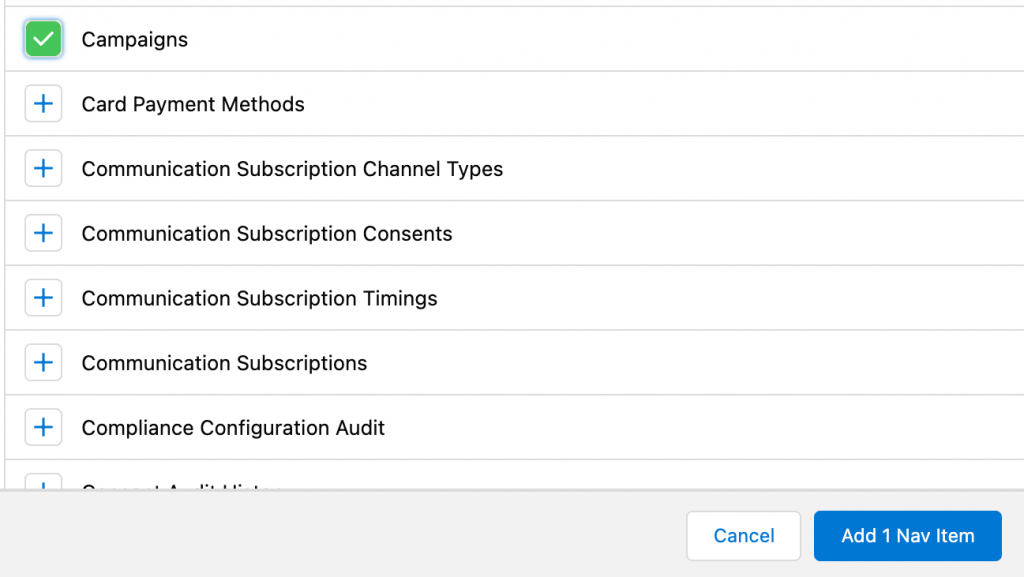
- Click on ‘Add 1 Nav item’ the following message will appear:
![Nav Bar Updated Message](https://www.sms-magic.com/docs/salesforce/wp-content/uploads/sites/2/2021/08/Nav-Bar-Updated-Message.png)
These are the steps of adding a navigation bar.
![Item Added to Nav Bar](https://www.sms-magic.com/docs/salesforce/wp-content/uploads/sites/2/2021/08/Item-Added-to-Nav-Bar-1024x887.png)
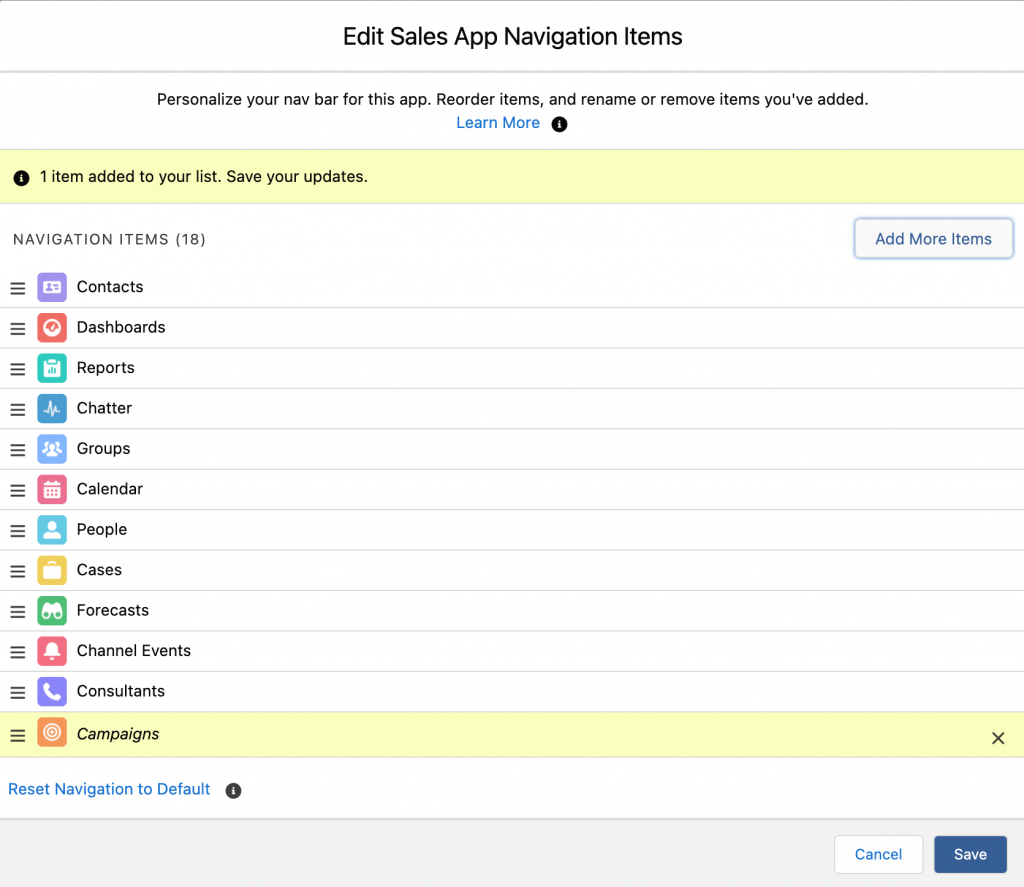
- Click on the ‘Save’ button the following message will appear:
![Nav Bar Updated Message](https://www.sms-magic.com/docs/salesforce/wp-content/uploads/sites/2/2021/08/Nav-Bar-Updated-Message.png)